Showing posts with label Rue Beauté. Show all posts

Tuesday, August 6, 2013

Nail Art- My First Attempt at "Spun Sugar" Nails!

Hi everyone!

Image

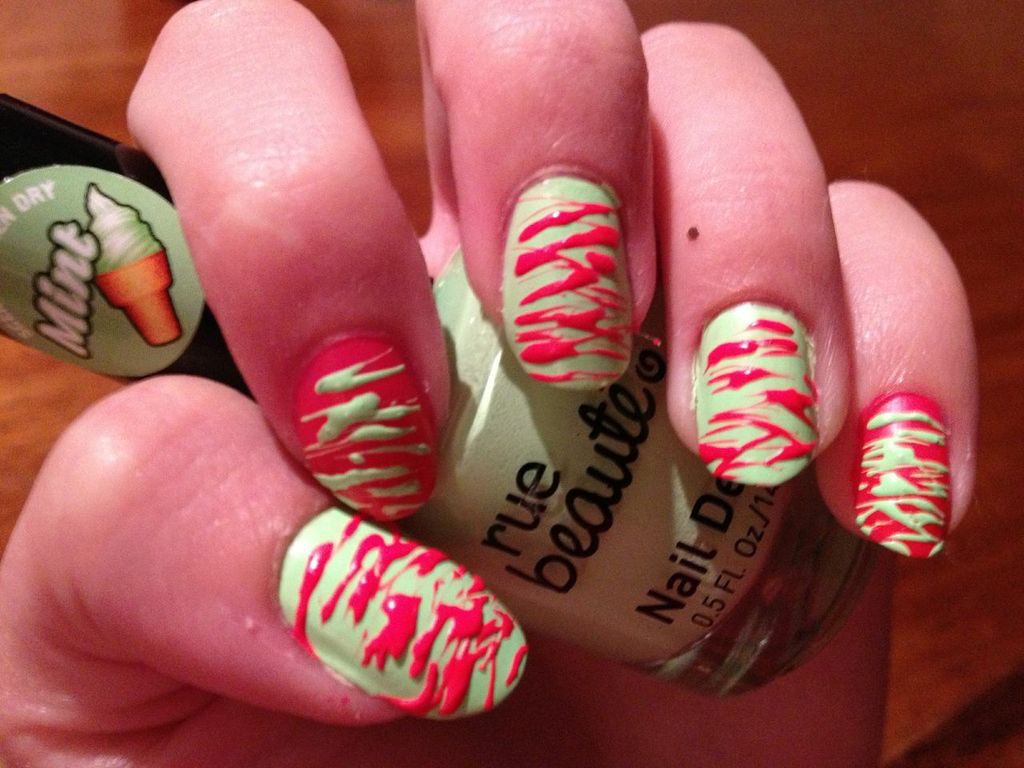
Today I have some new nail art to show you, and it's super fun to wear! It's almost like a cross between zebra print and fine stripes (sorry about that awful description, lol), and it's named after the culinary confection where hot sugar syrup is spun into small "threads", which is what the pattern resembles. People who are really good at this design (such as Michelle from AllLaqueredUp, her post here: http://www.alllacqueredup.com/2013/07/pinspirationail-spun-sugar-nail-art-revlon-brilliant-strength-nail-enamel.html and  Mimi from Makeupwithdrawal, her post here: http://www.makeupwithdrawal.com/2012/05/neon-sugar-spun-manicure.html ) can get the "threads" of polish really thin, but since it's only my first attempt, mine are still pretty thick. Still, for a first try, I'm very excited about the results! Here's how I did it.

First, I painted my nails a base color. In this case, for my thumb, middle, and index finger, I used Rue Beauté in color "031" (a mint-scented bright pastel lime green) and on my pointer finger and pinky, I used Claire's "Hot Stuff" (an eye-searingly hot pink). I used the opposite color on each individual nail as the "spun sugar" color. To make the spun sugar, I put several drops of a single color on a piece of cardboard. I then used a toothpick, and stirred the polish puddle for about 5 minutes, or until the polish thickens enough to still be fluid, but when you pull the toothpick out of the puddle, a string of polish comes up with it. I then pulled those strings, with the toothpick, across my individual nails (one at a time) to create the spun sugar look. I warn you, the finished product DOES have a fair amount of texture, as the thick polish does not dry flat for the most part. Below are pictures of the finished product WITHOUT topcoat and in artificial lighting.

Image

Image

Image

The next photos are with topcoat, which smooths out some of the texture (though not that much) and adds an extra shine to the semi-matte neon colors I used in the design. The topcoat is, as always, Sally Hansen Diamond Strength Nail Color in "Flawless"- one coat on top of the finished and fully dried design.

Image

Image

Sorry for the random speck of glitter on my index finger, that pesky piece wouldn't budge when I tried to remove it!

So what do you think of this innovative new nail art trend? Will you be giving it a try? If you do, leave a comment, and tell me how it works for you! I'll be trying it again in the near future, hopefully with more precise results. Stay tuned!

~Beth~

Wednesday, July 24, 2013

Nail Art- New York/Wicked Water Marble

Hi guys!

So today's post is gonna be realllllllyyyyy quick, because I'm dead tired. I just got back from a day trip with my mom; we went to the Big Apple to see Wicked on Broadway! If you haven't been before, I'd highly recommend you do if you have the chance, the show was fantastic! The singing was phenomenal and the sets and costumes and special effects were also amazing. The only flaw? The Gershwin Theater is freezing cold! It was 90 degrees outside and we were all bundled up in our sweaters trying our best to stay warm! Walking out into the stifling heat after the show ended never felt so good!

Image


On to the nails. I decided to go with an "Emerald City" themed water marble, in honor of the show I went to see. I used two colors in this water marble (besides my standard Sinful Colors "Snow Me White" for the base):

Green: Rue Beauté Nail Polish in Color 033 (in the bottle it looks like a deep blue/teal color, but in water marbling, it turns out as a rich, blue-based emerald creme)

Silver: Ulta Salon Formula Nail Laquer in "Bare Minimum"

Below are the pictures, with one coat of Sally Hansen Diamond Strength Nail Color in "Flawless" as my top and base coat. Indoor, artificial lighting.

Image

Image

ImageImage


Sorry for how messy the cuticles are, when I took these pictures, I was in a hurry since I was packing my purse for my trip the next day!

I hope you all aren't getting too tired of water marbling. I'll try and post other things in the next coming days. I bought 3 polishes in NYC, and I'm going back Saturday, so I might even get more still! What are your thoughts on this Wicked-inspired manicure? What's your favorite Broadway show?

~Beth~

Tuesday, July 23, 2013

Nail Art- Water Marbling with my Mom!

Hi everyone!

Today I have a special treat for all of you. Over the weekend, I got the opportunity to practice my water marbling technique on some very willing test subjects, er, willing volunteers. :) I did manicures on both my mom and one of my good friends, Tory, but today I'll just be showing you my mom's, and saving Tory's nails for later (solely because I'm too lazy to download those pictures to my computer right now, lol).

Image

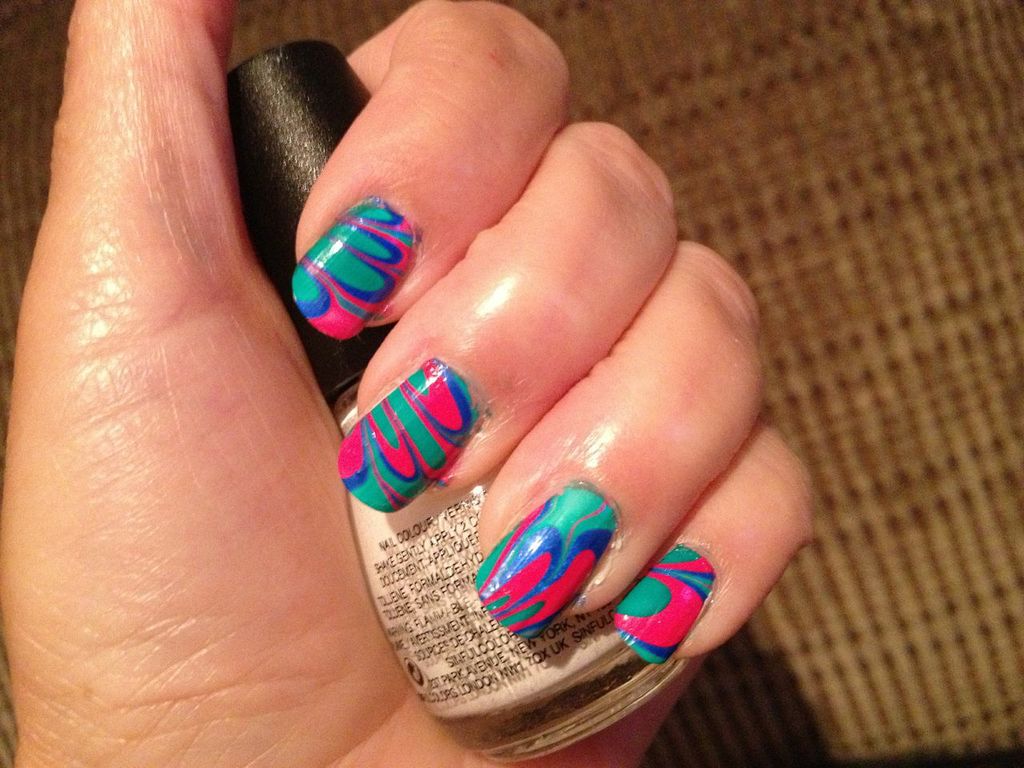
For my mom's nails, I wanted to do something bright and bold, since she loves summer colors. I chose her favorite bright blue, a bold green, and a hot fuschia. The colors I used are as follows:

White (for base): Sinful Colors "Snow Me White"

Blue: Wet N' Wild Fast Dry Nail Color in "Saved by the Blue" (what a great name!)

Green: Rue Beauté in Color 040

Pink: Ulta Salon Formula Nail Laquer in "Fuschiamania"

To do the water marbling itself, I generally use room temperature, or slightly warm, bottled water. I just find that works best for me. I draw the designs using pointed toothpicks, since I am not a fan of using orange sticks, or something like that. I use tape around my cuticles to prevent excess polish from getting on my skin, and remove any mess around my cuticles with warm water in the shower (it peels right off and is less drying than using nail polish remover or acetone, in my opinion). Below are pictures in artificial light, no topcoat, of course, with my beautiful mom modeling for me! She makes a great hand model, no?

Image

Image

Image


I'm extremely proud of how this nail art turned out, I think my water marbling technique is greatly improving! What do you all think? Are you a water marble fan? Are you going to try a bright summer manicure? What nail art designs do you want to see from me in the future?

~Beth~

Sunday, July 21, 2013

Sunday Funday Nail Art! - "Nautical" Stripes

Hi everyone!

Image

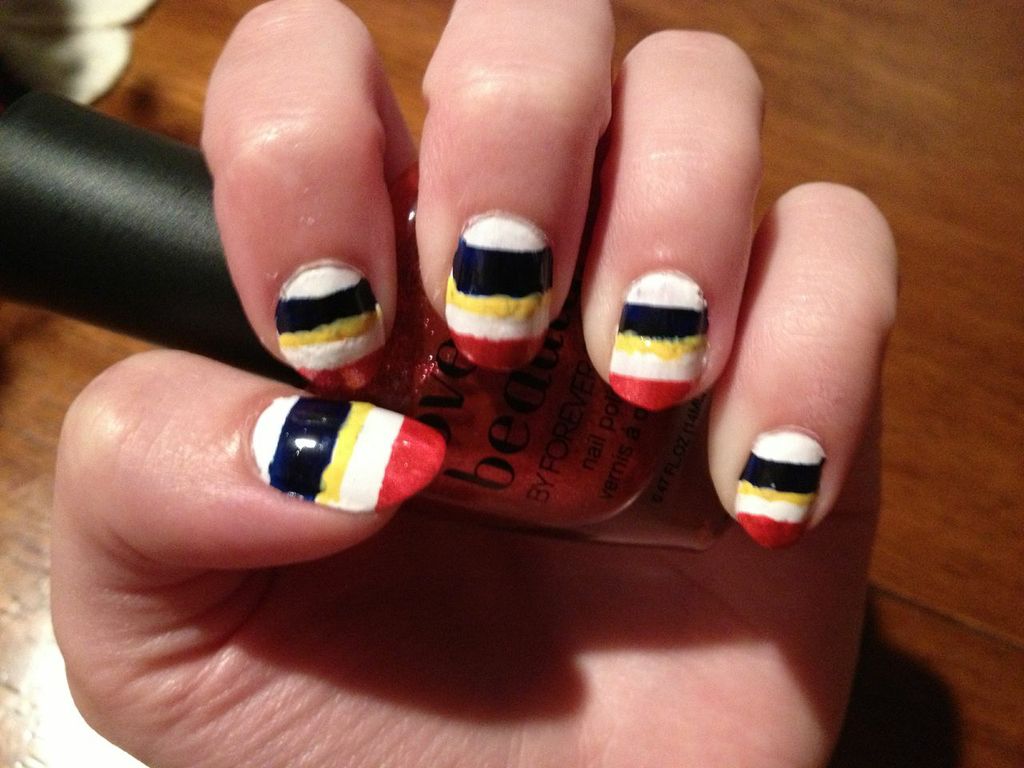
Today I have for you a fun, bold nail art design that's easy to create and is sure to garner you a ton of compliments! I wore it out to the mall today, and every cashier I talked to said that they loved it, it felt great! 

To create this look, I started with a base coat of Sally Hansen Diamond Strength Nail Color in "Flawless", and then painted on one coat of Sinful Colors "Snow Me White" (reviewed yesterday). I let the white dry COMPLETELY (about 15 minutes) before moving on. I took regular scotch tape pieces long enough to stretch horizontally across my nail, and pressed them into my skin and peeled them off a few times to reduce the stickiness, so that they wouldn't pull up nail polish. I then used different patterns of the tape to create different sized stripes for each color. The tape ensures that the lines are nice and crisp. As soon as you paint on the next layer of color, peel off the tape. If you let the polish dry first, you won't get as sharp of a line. If you have little mistakes in the line, just go over it later in the color you want it to be. Repeat until the design matches mine, or until you like it. Feel free to swap out colors! I didn't have a camera available to me while I was doing the design, so I don't have pictures of me creating it. However, I highly doubt this will be my last "tape" manicure, so I'll be sure to show pictures next time!

The colors I used in this design are as follows:

Pink: Love and Beauty in "Red" (what an awful name for a pink, right? But it's a great polish anyways, thin and easy to apply, and so shiny!)

White: Sinful Colors "Snow Me White" 

Yellow: Sally Hansen Xtreme Wear Nail Color in "Mellow Yellow"

Navy: Rue Beauté Nail Color in color 043

Below are pictures indoors, artificial lighting, with one topcoat of Sally Hansen Diamond Strength Nail Color in "Flawless" as a top coat. 


Image

Image

Image


So what do you think of this fun, wearable nail art? Simple enough for you, or too loud and crazy? What's your favorite summer nail look? Keep checking my blog this week, I have lots more nail art and water marble looks to show you, including guest hand models including one of my best friends, Tory, and my Mom!

~Beth~

Thursday, July 18, 2013

Nail Art- Summer Neon Water Marble

Hi everyone!

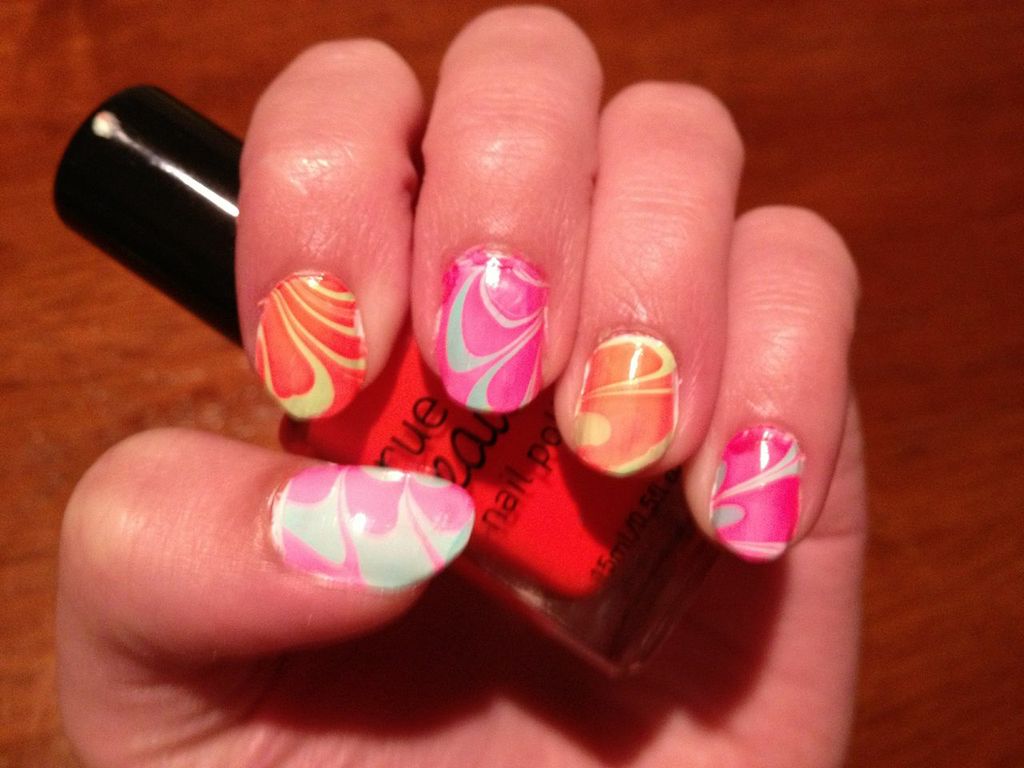
So yesterday's "flashback" post inspired me to try some water marble nail art again. I hadn't done it in about a year (school has been crazy with AP's and extracurriculars!) so I had to get the hang of it again. And let me tell you, I made a hugeee mess in the process! To add to the length of time it took to (finally!!!) get it right, I completely botched the white nail polish (that I use as a base for the design) on my entire left hand and had to stop, remove it, and start over again. I'm really such a klutz sometimes! In the end though, I'm satisfied with the results.

My original plan for this design was to mix all four colors (orange, green, blue, and pink) together in one design, but when i started making the bullseye, I found out the four of them together didn't play nice. Instead, I flip-flopped between green and orange on one nail and pink and blue on another, because those two combinations worked in the water (I used room temperature bottled water). The colors I used for this design are as follows:

Rue Beauté orange polish in color 145

Rue Beauté scented green polish (smells like mint!) in color 031

dELIA's blue polish in "Blue-Mint"

Claire's hot pink polish in "Hot Stuff"

Below are pictures of the final result. The white polish I used as a base was Ulta Salon Formula Nail Laquer in "Snow White", and the base and top coat are, as always, Sally Hansen Diamond Strength nail polish in "Flawless".

ImageRight Hand

ImageRight Hand

ImageLeft Hand

ImageLeft Hand

I apologize for the pictures for this one, it was picking up the orange all kinds of wrong. In these pictures, it looks like an orange-y red or a dark peach, when in reality it's a real in-your-face neon orange. All these colors are much more eye-searing in person.

So what do you think of my latest water-marble creation? Are you a fan of summer neons?

~Beth~


Friday, July 12, 2013

MOTD- Rue Beauté "004"

Hi everyone! Today I have a quick manicure to show you. I picked up this polish for 50¢ (!!!) at Rue 21 yesterday and I couldn't wait to try it out! Rue Beauté is Rue 21's own brand of polishes, and are packaged extremely similar to Color Club laquers. The polishes do not have names, but rather numbers, so this one is numbered "004". It's a light, tannish brown, just darker than my own skin tone. It's kinda like a creamy coffee or latte colored. It's deliciously shiny, even without top coat! It's wearable in 2 coats, but I went with 3 coats just to fix up some slight patchiness. While not a typical bright summer color, I think this would be great "for work" polish, and really, you can't beat the price of 50¢.

Image


ImageImage


What do you think of this coffee colored polish? Have you tried any Rue Beauté products? Have a great day!

~Beth~